USD
USD
How to remove the ball screw from a CNC lathe?
Video on Youtube
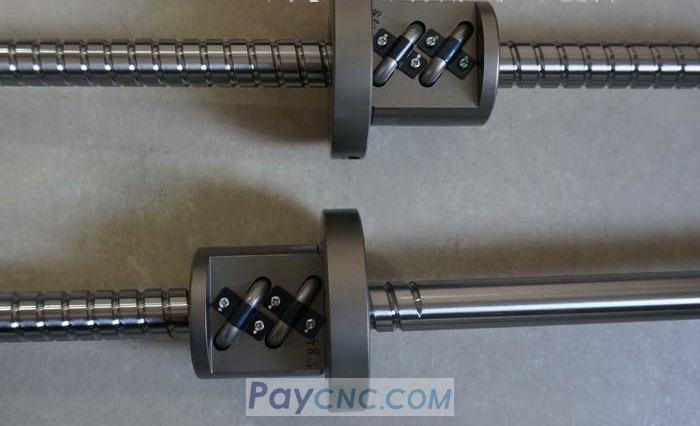
Maintenance personnel disassembled and replaced ball screw on a lathe exhibiting abnormal X-axis noise and excessive backlash.
**Removing the Worktable:** Loosened the four screws on the worktable and lifted it off.
**Removing the Guide Rail Connector:** Removed the four screws securing the guide rail connector to the lead screw seat, then removed and pulled out the insert of the adjusting diamond-shaped engagement connector.
**Removing the Motor End Components:** Loosened the three ball screws securing the motor end bearing nut and tapped the nut to loosen it. Loosened the coupling screws, removed the protective cover, and then removed the motor. Next, removed the four screws from the motor mount and pulled out the motor mount.
**Removing the Lead Screw and Bearings:** Pulled out the diamond-shaped engagement connector from one side and removed the lead screw. Removed the two bearings from the motor mount. The video showed that the bearings were damaged and the lead screw was corroded.
**Follow-up:** The maintenance personnel stated that several more lathes required repair.
Timeline
00:15, Remove the workbench by loosening four screws and lifting it off the table.
00:27, Remove the guide rail connecting plate by removing the four screws locking the lead screw seat.
00:39, Remove the insert and pull out the insert for adjusting the clearance.
00:50, Loosen the motor end bearing nut by loosening three screws and tapping the nut to loosen it.
00:57, Remove the coupling from the motor by loosening the coupling screws, removing the protective cover, and then taking off the motor.
01:12, Remove the motor mount by removing four screws and pulling out the motor mount.
01:29, Remove the lead screw by pulling out the diamond-shaped adapter plate from one side and then removing the lead screw.
Maintenance personnel disassembled and replaced ball screw on a lathe exhibiting abnormal X-axis noise and excessive backlash.
**Removing the Worktable:** Loosened the four screws on the worktable and lifted it off.
**Removing the Guide Rail Connector:** Removed the four screws securing the guide rail connector to the lead screw seat, then removed and pulled out the insert of the adjusting diamond-shaped engagement connector.
**Removing the Motor End Components:** Loosened the three ball screws securing the motor end bearing nut and tapped the nut to loosen it. Loosened the coupling screws, removed the protective cover, and then removed the motor. Next, removed the four screws from the motor mount and pulled out the motor mount.
**Removing the Lead Screw and Bearings:** Pulled out the diamond-shaped engagement connector from one side and removed the lead screw. Removed the two bearings from the motor mount. The video showed that the bearings were damaged and the lead screw was corroded.
**Follow-up:** The maintenance personnel stated that several more lathes required repair.
Timeline
00:15, Remove the workbench by loosening four screws and lifting it off the table.
00:27, Remove the guide rail connecting plate by removing the four screws locking the lead screw seat.
00:39, Remove the insert and pull out the insert for adjusting the clearance.
00:50, Loosen the motor end bearing nut by loosening three screws and tapping the nut to loosen it.
00:57, Remove the coupling from the motor by loosening the coupling screws, removing the protective cover, and then taking off the motor.
01:12, Remove the motor mount by removing four screws and pulling out the motor mount.
01:29, Remove the lead screw by pulling out the diamond-shaped adapter plate from one side and then removing the lead screw.