USD

How to replace LCD display for cnc control?
Video on Youtube
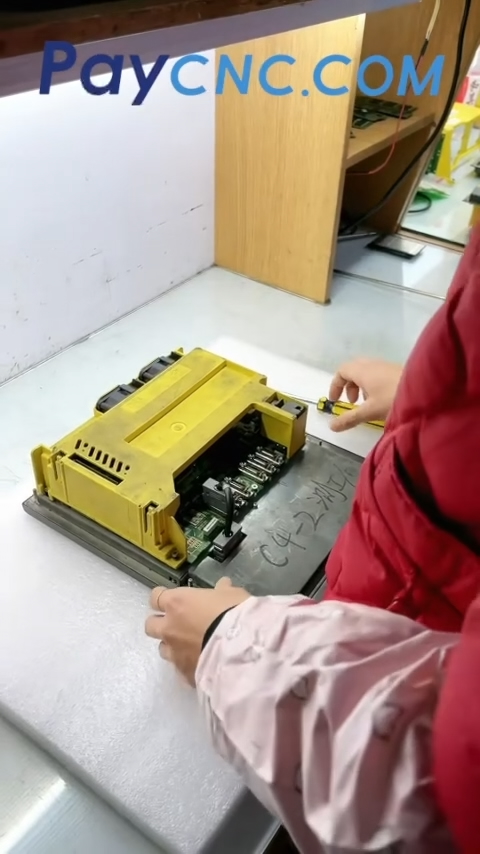
Preparation: Place a soft material underneath the main unit to protect the screen and front panel.
Removing the Housing: Loosen the two screws. Press down firmly on the two retaining clips on the cover, then gently lift the cover upward.
Disconnecting Cables: Unplug the backlight connector and the slot-type connector. Gently lift the main board upward, then temporarily replace the cover to prevent any accidental damage to the internal circuit boards while the unit is laid flat.
Disconnecting Keypad Cables: When accessing these, pull the slot-type connector outward slightly; then, unplug the keypad cable connector and remove the three screws.
Protecting the Battery: There is a battery located on the cover. Do not disconnect it, as doing so will result in the loss of stored data.
Removing the Old Screen: Lift and pull the circuit board to remove it. The screen is secured by four screws—use a smaller screwdriver to remove them. Gently lift the ribbon cable to detach it.
Installing the New Screen: Connect the ribbon cable first by aligning the plug and pressing it into place. Press the slot-type connector into its designated opening, secure the four screws, and peel off the protective film.
Reassembly: Reconnect the backlight connector, slot-type connector, and ribbon cable. Replace the housing, secure the screws, and power on the unit to test.
Key Precautions: Always use a soft protective base; press the retaining clips before lifting; pull slot-type connectors outward; do not disconnect the battery; and handle ribbon cables by lifting them gently—never pull them forcefully.
Paycnc offers different kinds of LCD display units.
If you could not find the exact model, you can send item photos and its nameplate to paycnc@paycnc.com or WhatsApp us to get quotation.
#display #replacement
Preparation: Place a soft material underneath the main unit to protect the screen and front panel.
Removing the Housing: Loosen the two screws. Press down firmly on the two retaining clips on the cover, then gently lift the cover upward.
Disconnecting Cables: Unplug the backlight connector and the slot-type connector. Gently lift the main board upward, then temporarily replace the cover to prevent any accidental damage to the internal circuit boards while the unit is laid flat.
Disconnecting Keypad Cables: When accessing these, pull the slot-type connector outward slightly; then, unplug the keypad cable connector and remove the three screws.
Protecting the Battery: There is a battery located on the cover. Do not disconnect it, as doing so will result in the loss of stored data.
Removing the Old Screen: Lift and pull the circuit board to remove it. The screen is secured by four screws—use a smaller screwdriver to remove them. Gently lift the ribbon cable to detach it.
Installing the New Screen: Connect the ribbon cable first by aligning the plug and pressing it into place. Press the slot-type connector into its designated opening, secure the four screws, and peel off the protective film.
Reassembly: Reconnect the backlight connector, slot-type connector, and ribbon cable. Replace the housing, secure the screws, and power on the unit to test.
Key Precautions: Always use a soft protective base; press the retaining clips before lifting; pull slot-type connectors outward; do not disconnect the battery; and handle ribbon cables by lifting them gently—never pull them forcefully.
Paycnc offers different kinds of LCD display units.
If you could not find the exact model, you can send item photos and its nameplate to paycnc@paycnc.com or WhatsApp us to get quotation.
#display #replacement